Making a Cake with Children Part 2 – Frosting
Welcome to Part 2 of this series. If you missed Part 1 – Baking then click HERE. Now on to the next part, making the frosting!
Tools and equipment :
01) Patience! [Again, too bad you can’t buy this stuff!]
02) Hand Vacuum [Accept that there is going to be a mess]
03) Soap [Good old soap and water to clean sticky hands]
04) APRONS for everyone, including any pets that might wander by! [There is no link here. Lubby made ours.]
05) A frosting recipe and ingredients! [Do you want me to post one?]
06) Measuring cups [I have a mix and match of these.]
Optional equipment
07) Stand Mixer [This is the undisputed KING of stand mixers. Trust me on this one.]
08) Cake Leveler [Rookie tool, so I use it all the time.]
As an Amazon Associate, I earn from qualifying purchases. Please use my links.
Directions
Put all of your ingredients except powdered sugar into the mixer bowl.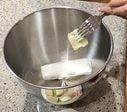
Turn the mixer on low and start adding your powdered sugar.
Secret Tip: Use 1/2 Cups. You get more maneuverability with the smaller size.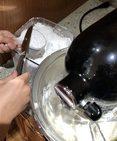
Kid Tip: Use a guide shield!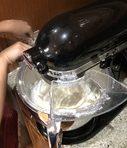
Sanity Tip: Be prepared for a mess no matter what you do! And keep your Hand Vacuum charged.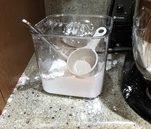
[You do not even want to see how much ended up on the floor!]
Mix and add powdered sugar until you have a peanut butter consistency. You want it to spread, but still be able to make some decorations with it. Some people will make two batches, one for frosting and one for decorating. You can do that too, but that is too much work for me. 🙂
Once you have a nice white frosting, you need to color it. Use whatever food dyes you have or buy special ones like THESE.
It is time to frost your cake. Get it out of the fridge and level it, by cutting off the humped top. [I forgot to get pictures of this. Oops!] Use your Cake Leveler and it will go much smoother.
Secret Tip: If using a Cake Leveler be careful when you get to the other side of the cake. The wire tends to shred the cake when it comes out. Instead, stop about halfway pull your leveler back out the way you came in, and start again from the other side. You should meet your line in the center without damaging your edges.
FROSTING PART ONE! (Or Crumb Coat)
Get some frosting on that cake. Glob and spread.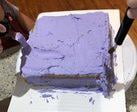
Mmmm… Frosting!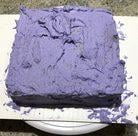
Secret Tip: If you don’t want to go into sugar shock plan to eat this cake. Tell the children that you are going to make it easier to decorate. Then when they are in bed asleep, scrape off half of the frosting and smooth it yourself. Sometimes you have to help more than others.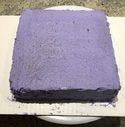
Do not worry about crumbs all over. This is ok and normal. You get to cover it up with another coat. Put the cake in the fridge and let the frosting set. Once it feels firm…
FROSTING PART TWO!
Time for another round of frosting. The children will probably be bored with this part, so you can do it yourself while they set up for decorations. I did a quick coat to make everything look nice before we started with the decorations.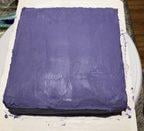
Until next time
-Hubby
Pingback: Making a Cake with Children Part 3 - Decorating
Pingback: Making a Cake with Children Part 1 - Baking