Stop Wasting Ingredients By Verifying Yeast Freshness First
Imagine tossing out perfectly good flour, sugar, and eggs, all because your yeast was past its prime. If you’ve ever wondered why your baked goods sometimes flop, checking yeast freshness could be the key. We’ll show you how to easily test freshness before baking, saving you both money and disappointment. Find out how a quick verification step can make all the difference in your kitchen adventures.
Equipment/Ingredients
- Yeast (instant)
- Milk
- Sugar
Directions for Verifying Yeast Freshness
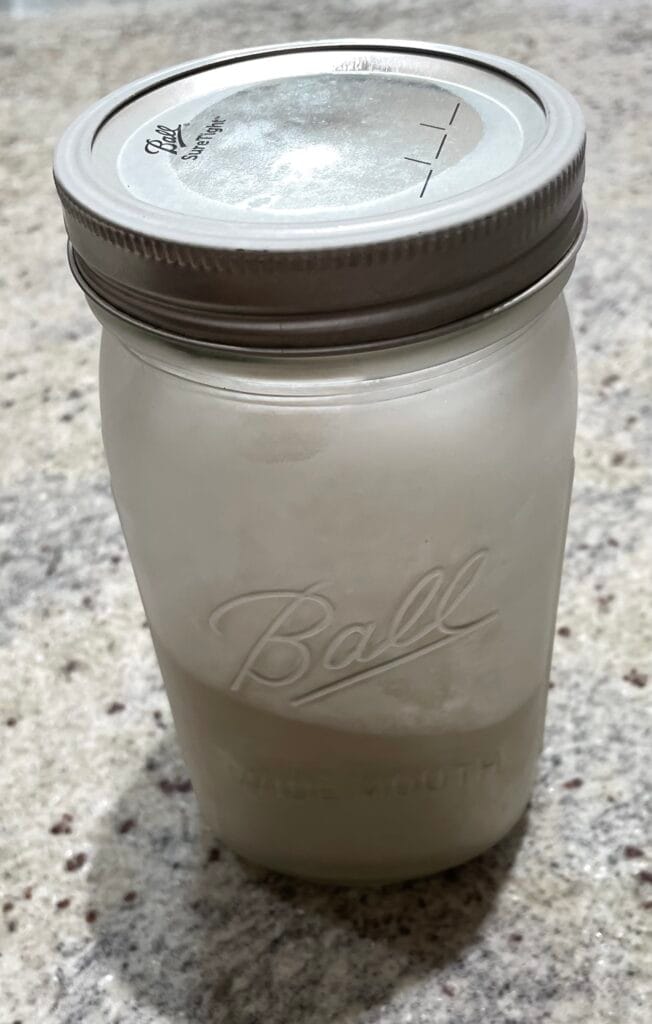
I recently made some fresh bread (recipe coming soon) for my workday lunches and needed to test my yeast. I keep my yeast in a jar in the freezer. It is still going strong after a year!
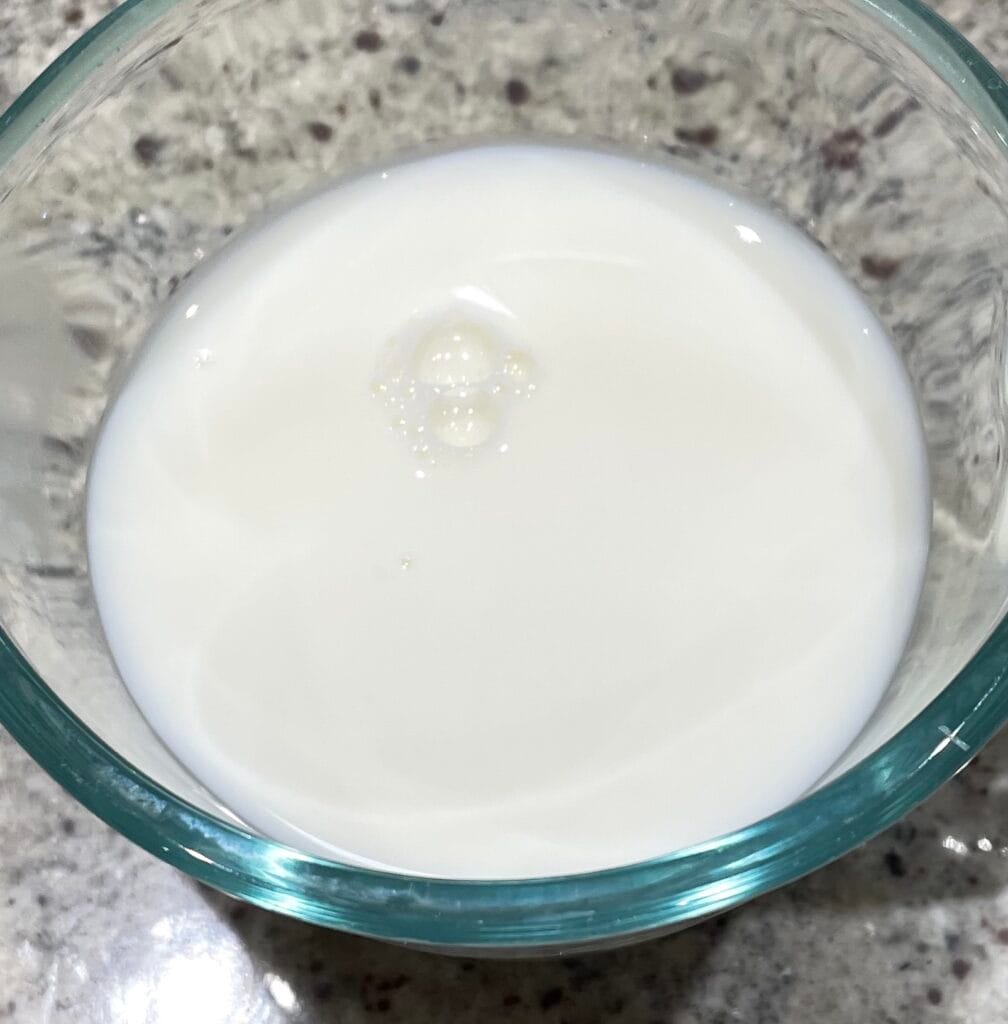
Mix 1 cup of milk and 2 Tablespoons of sugar in a microwave-safe container.
The beauty of this test, if the yeast is good, I use all of the ingredients in my bread.
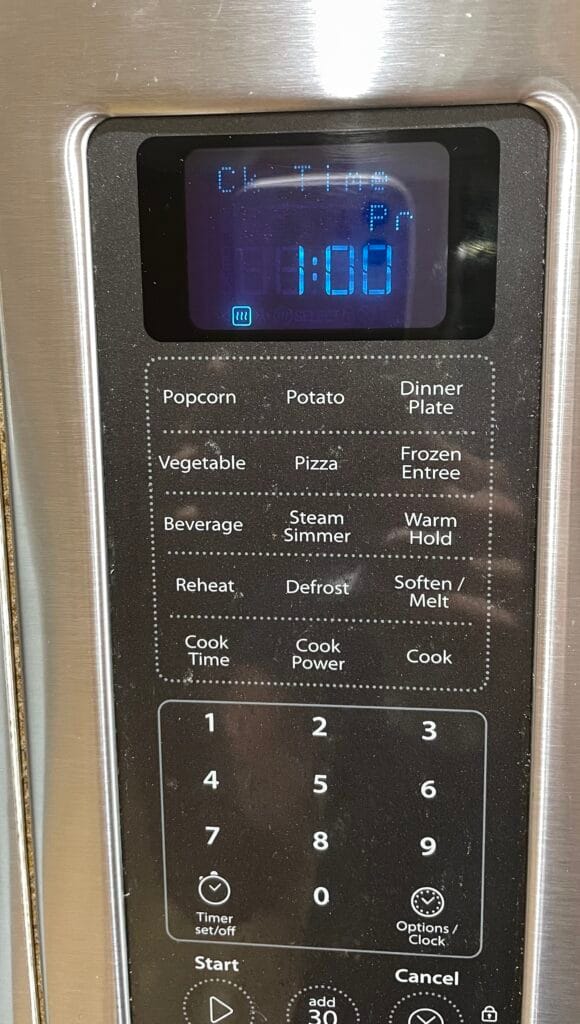
Cook the milk in your microwave until the temperature is around 120-130°F. For my microwave, that is 1 minute.
Add in 2 teaspoons of yeast and mix it up a bit.
Now, I realise that all the measurements I gave are for my specific bread, but here is what you need in general. Warm liquid, sugar, and yeast. That’s it. Tailor the testing to what you need in your recipe.
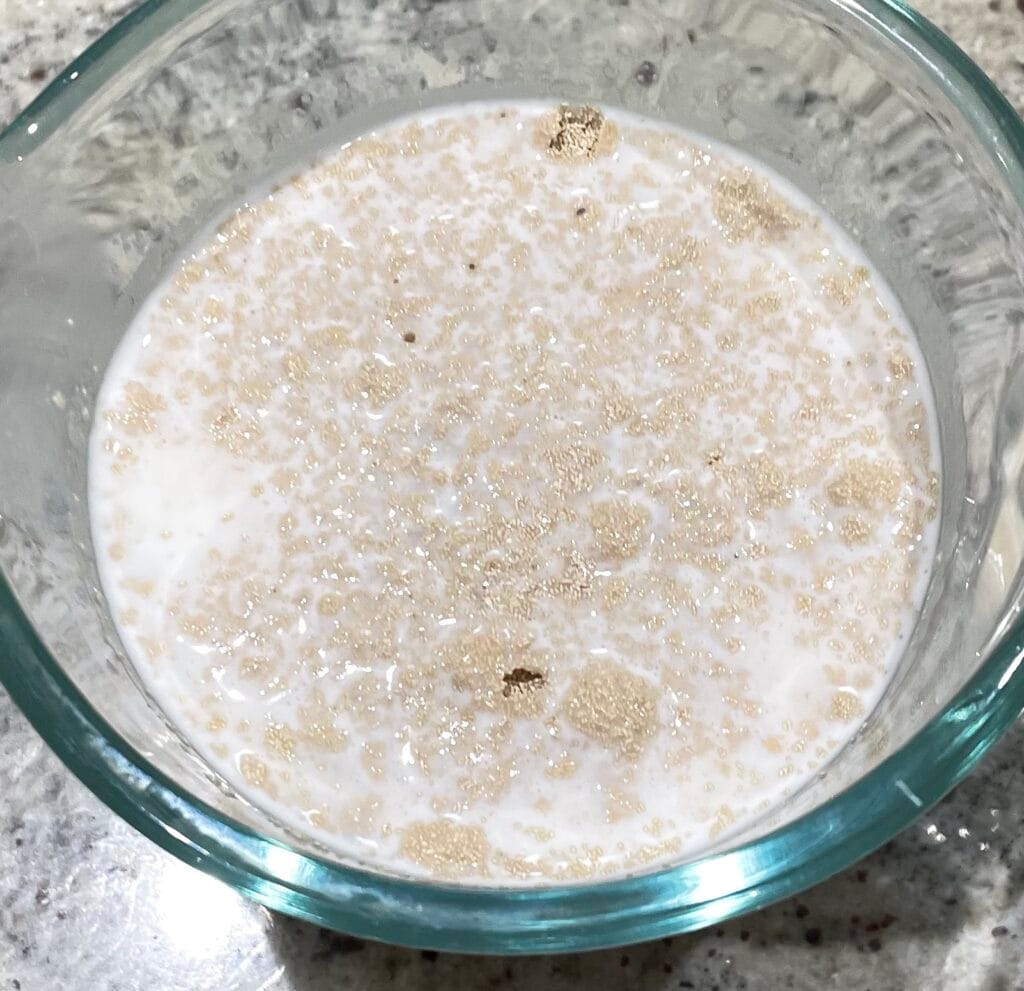
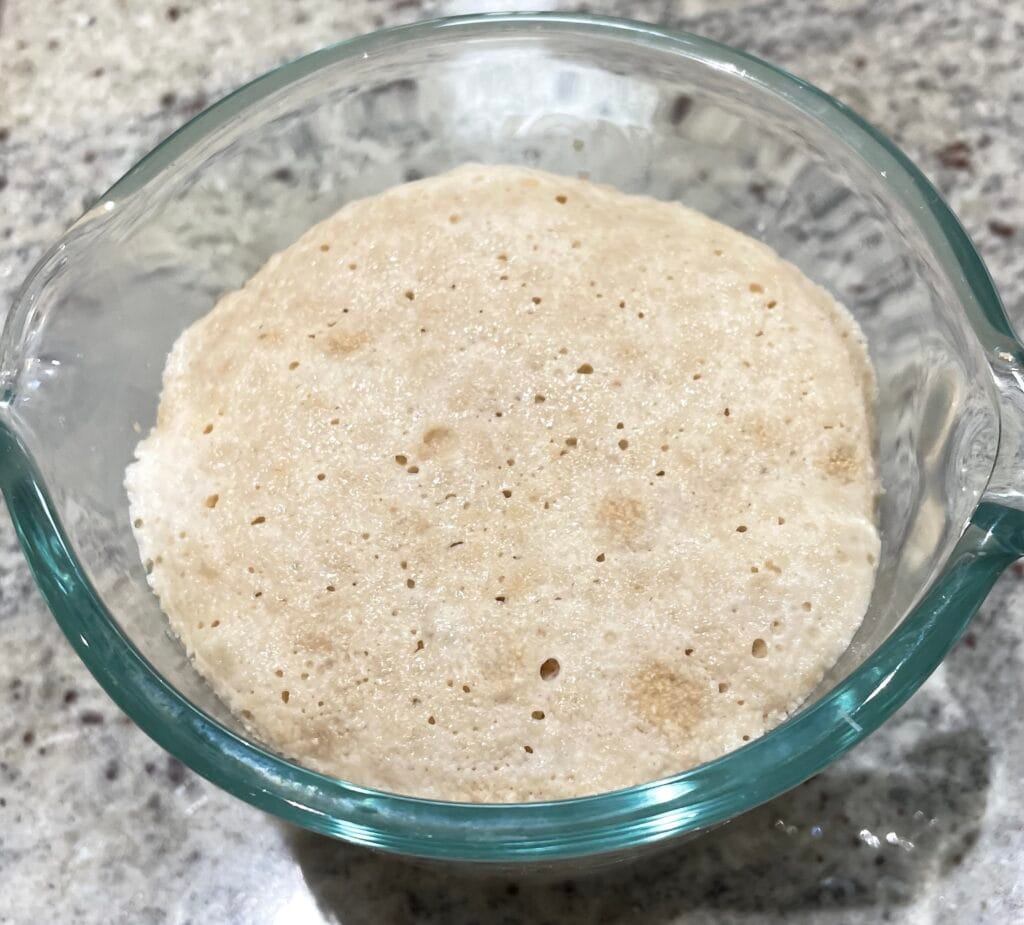
Give the yeast a minute or two, and if it bubbles, then it is good to use!
Until next time,
Hubby
Pingback: Discover How To Make Fluffy Sandwich Buns At Home