Easy DIY Coconut Milk
Coconut milk isn’t really milk, and shouldn’t be confused with coconut water (the liquids found inside a coconut). It is the end product of blending coconut meat with water and straining it. This white liquid has lots of healthy benefits which include such things as heart health, boosting the immune system, and improving digestion. All good reasons to make it, but it is also a good substitute for various other milks like almonds. And since I’m allergic to nuts, I’m all over these directions.
Tools and equipment :
01) Sauce Pan. [Need to keep the water warm]
02) Container for finished liquids [I like wide-mouth mason jars. I don’t have to worry about stuff leeching into my milk]
03) Blender [I’ve used and broken lots of blenders and Vitamix is the king.]
04) Nut Milk Bag [You need some way to strain this, and I use this bag. It works.]
05) Glass Measure Cup [I prefer to use glass for liquids.]
06) Measuring cups [I have a mix and match of these.]
Ingredients
01) Shredded Coconut [Required!]
As an Amazon Associate, I earn from qualifying purchases. Please use my links.
Directions
Depending on how well you squeeze the mixture, you can get about 4 cups of coconut milk. I tend to not squeeze too aggressively, so I get a little over 3 cups.
Into your saucepan add:
4 cups of water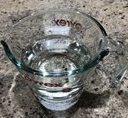
2 cups of Shredded Coconut
You should now have something like this: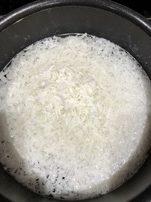
Let this simmer on very low heat for an hour. You don’t need to stir it or anything. Just let it go and make sure you don’t boil it.
At the end of this simmering, you should see something like this: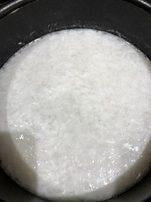
Take all of that and dump it into your blender. Be careful! It is hot!
You should now be seeing this in front of you: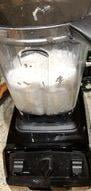
Blend! Put your blender on high and let it go for a solid minute.
Your results should look like this: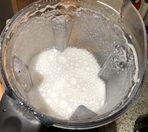
At this point, you should walk away from this project. The mixture is way too hot to strain through your nut milk bag. Come back to this in an hour or more…
Has your mixture cooled down enough to touch? Great! The next step is to strain it through your nut milk bag. I like to push the bag inside of my mason jar like this: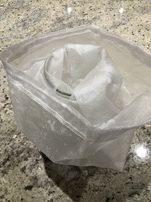
Now we just pour the mixture from the blender into the bag. Be careful not to spill: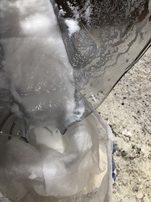
You may have to finesse the bag as you fill-up the mason jar. You should see a white clump left behind in the bag.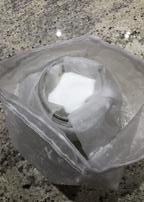
Once everything is gravity-drained, you can start squeezing every last bit of coconut milk out of the nut milk bag.
When you are done smashing out the good stuff, you should have a nice mason jar of coconut milk!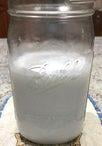
You can add this to your morning oatmeal to make it creamier.
Until next time
-Hubby
Pingback: Amazingly Easy Overnight Cookie Flavored Oatmeal